
The remodeling order that saves money: fix before you finish
The difference between a smooth remodel and an expensive one is usually sequence and decisions, not paint colors. Here is what to settle before a crew ever arrives.
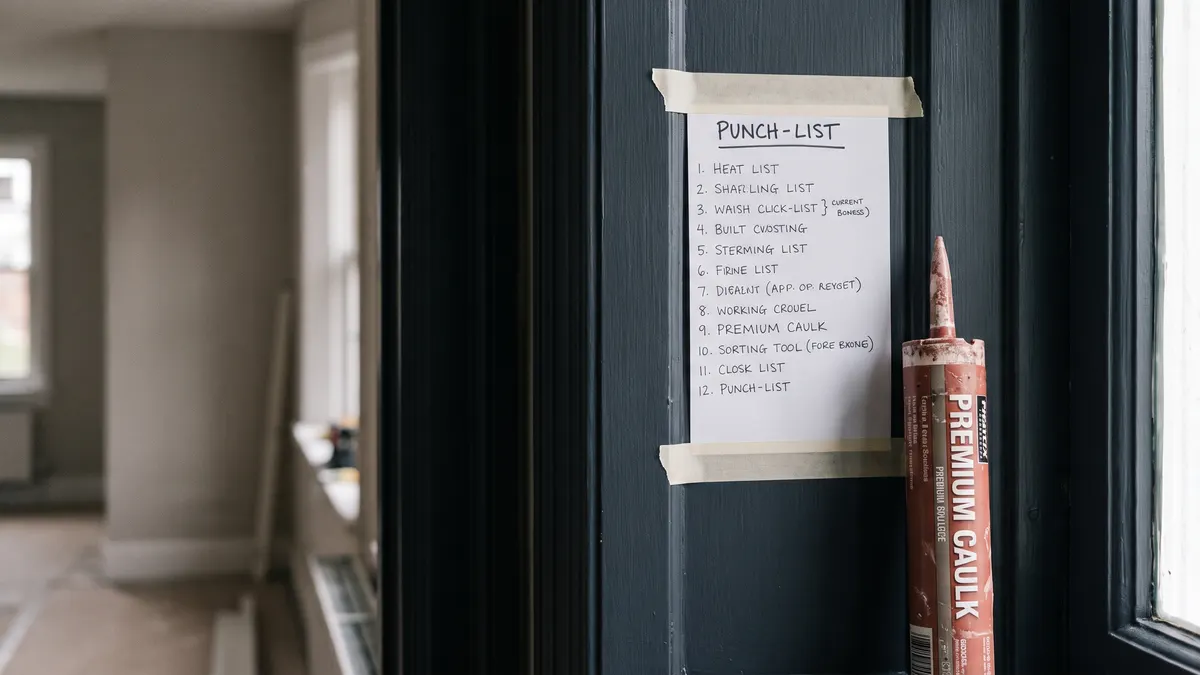
The remodeling lesson people wish they had learned sooner is that sequence saves money: fix the things behind the walls — a roof leak, moisture, failing supply lines, an overloaded electrical panel — before you spend on finishes, because finishing over an unsolved problem means tearing the new work back out to reach it. The second lesson is to lock your selections before demo starts. An undecided tile or cabinet is the thing that stalls the whole job, and changing your mind after the walls are closed is where budgets blow up.
Planning a project like this in west metro Atlanta? Get a free written estimate.
The one mistake that costs the most: finishing before fixing
If there is a single thing homeowners wish they had understood before starting, it is this: never put a finish over a problem. New paint, new flooring, new tile and new cabinets are the last and most visible layer of a house, and every one of them sits on top of the things that actually keep a house sound — the roof, the framing, the plumbing supply lines, the electrical, the moisture control.
Spend on the finish before the underlying problem is fixed and you pay twice. The leak keeps going behind the fresh drywall. The old galvanized line finally fails under the new tile floor. The panel that was already maxed out trips every time the new kitchen runs. Now the fix means cutting back into work you just paid for. Do the unglamorous repairs first, then finish over a house that is actually ready for it.
This is also why the cheapest-looking bid is sometimes the most expensive one. A quote that skips the investigation and assumes everything behind the walls is fine will look great on paper and then turn into change orders the moment demo reveals what is really there. Fixing first is not caution for its own sake — it is the version that costs less by the end.
Why the trades come in the order they do
A remodel is several trades working in a set sequence, and the sequence is not arbitrary. The rough work — moving plumbing, running new circuits, framing changes — happens while the walls are open, because that is the only time it is reachable. Then the walls close up, and the finish trades follow. Once drywall is up, anything that lives behind it is expensive to touch again.
That is the real reason mid-project changes hurt. Deciding to move the sink after the plumbing is roughed in, or add an outlet after the drywall is hung, does not just cost the new work — it costs undoing the finished work in the way, then redoing it. The further along the job is, the more a small change ripples backward.
It also explains why a remodel can look like nothing is happening for a while and then move fast. Much of the early effort is hidden — demo, rough-in, the parts that get covered up — and the visible transformation comes near the end. Judging progress by what you can see is how people talk themselves into pushing the crew to skip steps that matter.
Lock your selections before the first wall comes down
The most common thing that stalls a remodel is not the crew — it is a decision the homeowner has not made yet. The job reaches the point where the tile goes in, and the tile has not been chosen. Everything downstream waits.
So make the picks that drive the work before demo starts, not as you go. And measure before you fall in love: the range you want has to fit the opening, the vanity has to clear the door swing, the fridge has to fit the alcove. Choosing late, or choosing something that does not actually fit, is how a schedule slips and how change costs sneak in.
There is a quieter benefit, too. Making your decisions up front, when you are calm and have time to compare options, almost always produces better choices than deciding under pressure with a crew standing by. The rushed, mid-job pick is the one people regret.
- Settle the layout, then the big-ticket items — cabinets, countertops, major fixtures, appliances.
- Confirm sizes against real measurements before ordering anything.
- Choose finishes that coordinate as a set, so one late swap does not force three others.
- Have your picks in hand when the job starts, not sketched out to decide later.
- Keep a single place — a folder or a list — where every selection and model number lives.
Separate must-haves from nice-to-haves up front
Write down what you are trying to accomplish before you write down what you want to buy. Name the problems first — the cramped layout, the dark room, the storage you do not have — and rank them. Then split the wish list into must-haves and nice-to-haves.
This is not busywork. When an older house hands you a surprise and it eats into the budget, you want to already know which items you will trim and which are non-negotiable. The people who skip this step end up cutting the wrong things under pressure, or blowing the budget to keep everything, because they never decided what actually mattered.
Ranking up front also keeps the project honest when the exciting extras start calling. It is easy, mid-remodel, to add the upgrade you had not planned on; a clear list of what this project is really for makes those add-ons a deliberate choice rather than a slow drift past the budget.
Plan for the surprises an older house will hand you
Even a well-planned remodel turns up things once the walls, floors or cabinets come off. Water damage under an old sink, wiring that is past its service life, a floor that is not level, rot around a tub — these are common in older west-metro homes, and they are not a sign the project went wrong. They are the reason an honest contractor checks what is behind the walls during demo and shows you what they find.
The way to absorb that is slack: leave room in both the budget and the schedule for the unexpected, instead of planning to the last dollar and the last day. A contingency is not pessimism, it is how a surprise becomes a line item instead of a crisis. The homeowners who plan to the penny are the ones a single hidden problem throws into a panic.
Pin down scope and changes with your contractor
Before work starts, get clear on exactly what is and is not included, and how changes will be handled once the job is underway. A lower number that leaves out prep, repairs or finish work is not the better deal — it is the same job with the hard parts moved into 'extras' later.
Ask how the estimate is documented, who is coordinating the different trades, and how a change gets priced and approved mid-job. Permitted work — anything that moves plumbing, adds circuits or opens up structure — is usually pulled and inspected by the contractor; ask who is handling that and what your jurisdiction will want to see. Getting those answers before the first wall comes down is what keeps the project honest from both sides.
Put the answers in writing. Not because anyone expects trouble, but because a shared, written understanding of scope and change handling is what keeps a long project from turning into a series of 'I thought that was included' conversations.
Questions we get asked
- What should I decide before demolition starts?
- The layout and every selection that drives the rough work: cabinet and appliance sizes, fixture locations, countertop and tile choices. Those decisions determine where plumbing and wiring go, so making them late — or changing them after the walls close — is what stalls a job and runs up the cost.
- Why does changing my mind mid-project cost so much?
- Because the work happens in sequence. Changing something after that stage is built means undoing finished work to reach it, then redoing it. The same change that costs little on paper before demo can cost several times as much once the walls are closed.
- How much should I set aside for surprises?
- Leave a real cushion in both budget and schedule rather than planning to the last dollar. Older homes commonly reveal water damage, dated wiring or uneven floors during demo. A contingency turns those into a manageable line item instead of a project-stopping problem.
- Can I just pick finishes as the project goes along?
- You can, but it is the most reliable way to stall the job. Each unmade decision eventually blocks the next step, and choosing under time pressure leads to mismatches and rush orders. Picking before demo keeps the crew moving and keeps change costs down.
- What is the real cost of finishing before fixing an underlying problem?
- You pay for the finish, then pay again to tear it out when the hidden problem surfaces — a leak behind new drywall, a failed line under new tile. Doing the structural, plumbing and moisture repairs first means the finish layer lasts instead of becoming demolition.
Reviewed 2026-10-09 by Dan James, WS Painting & Remodeling LLC.