
What makes a paint finish look professional, not DIY
The difference between a pro finish and a DIY one is almost never the color or the brand of paint. It is the prep and the edges.
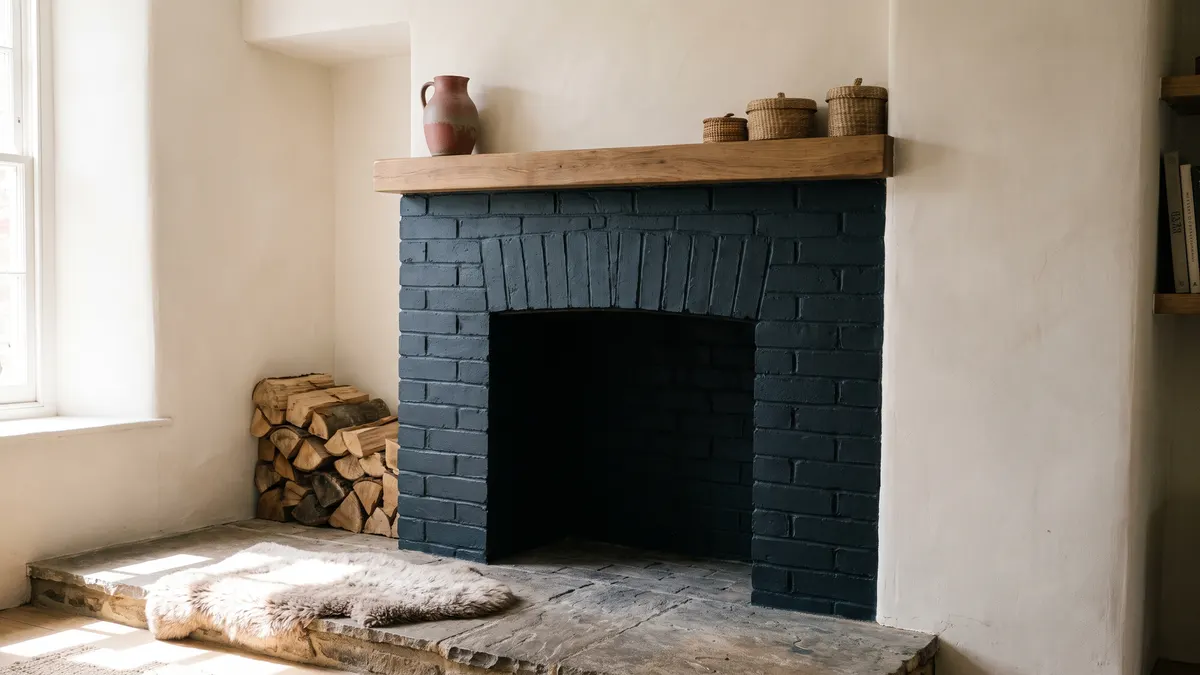
A professional finish comes from the parts you do not see in the end: straight cut lines where the wall meets the ceiling and trim, full even coverage from two unbroken coats, a wet edge kept across the whole wall so there are no lap-mark stripes, and trim that was filled, caulked, sanded and deglossed before any color went on. The paint itself goes on fast. The reason a DIY wall reads as DIY is almost always the prep and the edges, not the color or the brand of paint.
Planning interior painting in west metro Atlanta? Get a free written estimate.
Most of the finish is decided before the first coat
The look of a finished wall is set during prep, before any color is opened. Nail holes and dings get filled and sanded flush, cracked caulk at the trim is cut out and run fresh, glossy trim is scuffed so new paint can grip it, and kitchen walls get degreased so the paint sticks instead of sitting on a film. None of that shows in a photo of the finished room, and all of it is why the finish looks the way it does — and most of what a paint job costs.
Georgia humidity makes the caulk step matter more than people expect. Summer damp opens hairline gaps at crown and baseboards, and a quick coat of paint straight over them leaves visible cracks that reappear within a season. Cutting out and recaulking those joints first is the difference between trim that looks crisp and trim that looks tired a few months later.
The cut line is the giveaway
The single clearest tell of a DIY job is the line where the wall meets the ceiling, the trim and the corners. A professional cut line is dead straight and crisp, whether it was brushed freehand by a steady hand or taped and sealed properly. A wavy line, a fuzzy edge, or color that bled under the tape reads as amateur instantly, no matter how good the color is.
Tape is not a shortcut to a clean line on its own. The edge has to be pressed down hard so paint cannot creep under it, and it has to be pulled while the paint is still slightly soft so it does not tear a ragged edge. Done without that, tape leaves exactly the bleed it was supposed to prevent. The clean line comes from technique, not from the roll of blue tape.
Two coats, kept even — why one never looks right
Almost every wall needs two finish coats. One coat leaves uneven coverage — thin patches where the old color ghosts through, denser where the roller doubled back — and that patchiness is obvious once the wall dries and the light hits it. The second coat is what makes the color solid and uniform, and it goes on only after the first has dried per the label, which in a humid house can mean waiting longer than the can says.
A color change makes this bigger. Going from a dark wall to a light one, or over a strong color, usually needs a primer coat under the two finish coats, or the old color keeps grinning through. Thin, even coats also beat one thick one: load the roller too heavy to save a pass and you get runs and sags that dry into permanent ridges.
Keeping a wet edge so the wall has no stripes
A lap mark is the faint stripe you see where a section of roller work dried before the next section was blended into it. Paint that goes over a partly dried edge builds up slightly and reflects light differently, leaving a band down the wall that shows most in raking light. Avoiding it is about rhythm: working in a sequence that always joins wet paint to wet paint.
In practice that means rolling the full height of the wall and moving across it steadily, keeping a wet edge the whole way rather than stopping in the middle for a break. Ceilings go first so any spray or drips land on walls about to be painted anyway. It is an ordinary skill, but it is the kind of thing a weekend job rarely gets right across a big wall.
Trim and doors are where sanding between coats shows
Walls are forgiving; trim and doors are not, because they catch the light and the eye lands on them up close. The finish that looks factory-smooth on a door or a baseboard got a light sanding between coats to knock down the slight roughness that every coat raises, then a final coat over the smoothed surface. Skip that and the trim feels gritty under your hand even if it looks fine from across the room.
Brush and roller choice matters here too. The right brush lays trim paint off smooth without heavy brush marks, and a fine roller or sprayer on doors avoids the orange-peel stipple a cheap roller leaves. The goal is a surface that reads as one smooth piece, not a painted-over one.
The last pass: raking light and touch-ups
A finished room gets looked over in good light before it is called done, and the trick is to hold a work light low and let it rake across each wall. That low angle throws shadows off any missed spot, thin area or roller ridge that looks fine under flat overhead light, and those spots get touched up before the crew leaves. Looking straight at a wall hides exactly what the job needs to catch.
This is the step that separates a wall that looks good on day one from a wall that still looks right in six months. The color and the brand get the attention, but the straight lines, the full coverage, the smooth trim and the final once-over under raking light are what people are actually seeing when they say a room looks professionally done.
Questions we get asked
- Why does my DIY paint job look patchy?
- Usually one coat where it needed two, or coats that went on unevenly. One coat leaves thin spots where the old color shows through and denser spots where the roller doubled back. A second even coat, applied after the first has fully dried, is what makes the color solid.
- How do painters get such a straight line at the ceiling?
- A steady freehand brush line, or tape that is burnished down hard so paint cannot bleed under it and pulled while the paint is still slightly soft. The clean line is technique either way. Tape alone, pressed on loosely, still lets paint creep underneath.
- What are the stripes down my freshly painted wall?
- Lap marks, where one section of rolling dried before the next was blended into it, so the overlap built up and reflects light differently. They are avoided by keeping a wet edge and rolling the full height of the wall in a continuous sequence rather than stopping partway.
- Do I really need to sand between coats on trim?
- On trim and doors, yes, if you want a smooth result. Every coat raises slight roughness, and a light sanding knocks it down so the final coat lays smooth. Walls are more forgiving, but trim is close to the eye and hand, so the sanding shows.
- Is prep really most of the work?
- On an interior repaint, usually yes. Filling, caulking, sanding, deglossing and cleaning take more time than rolling the color, and they are what the finished look depends on. The painting goes quickly once the surfaces are genuinely ready.
Reviewed 2026-10-09 by Dan James, WS Painting & Remodeling LLC.